How to Wire an Ethernet Wall Socket: T568B Step by Step
Zak
21 November 2026
→ Get Every Socket Wired and Tested, Book a Free Survey
Once the cable is in the wall, it needs a proper end. In a house, that's a wall socket: an RJ45 module in a faceplate, just like a phone socket. You plug a short patch lead into it, and the solid-core cable in the wall never gets moved again.
Wiring one isn't hard, but it is fiddly, and small mistakes can quietly halve your speed. Here's how to do it properly.
Key Takeaways
- Use the same colour order at both ends of the cable. T568B is the most common in UK homes
- Untwist as little of each pair as possible, no more than about 13 mm
- Keep the outer jacket as close to the module as you can
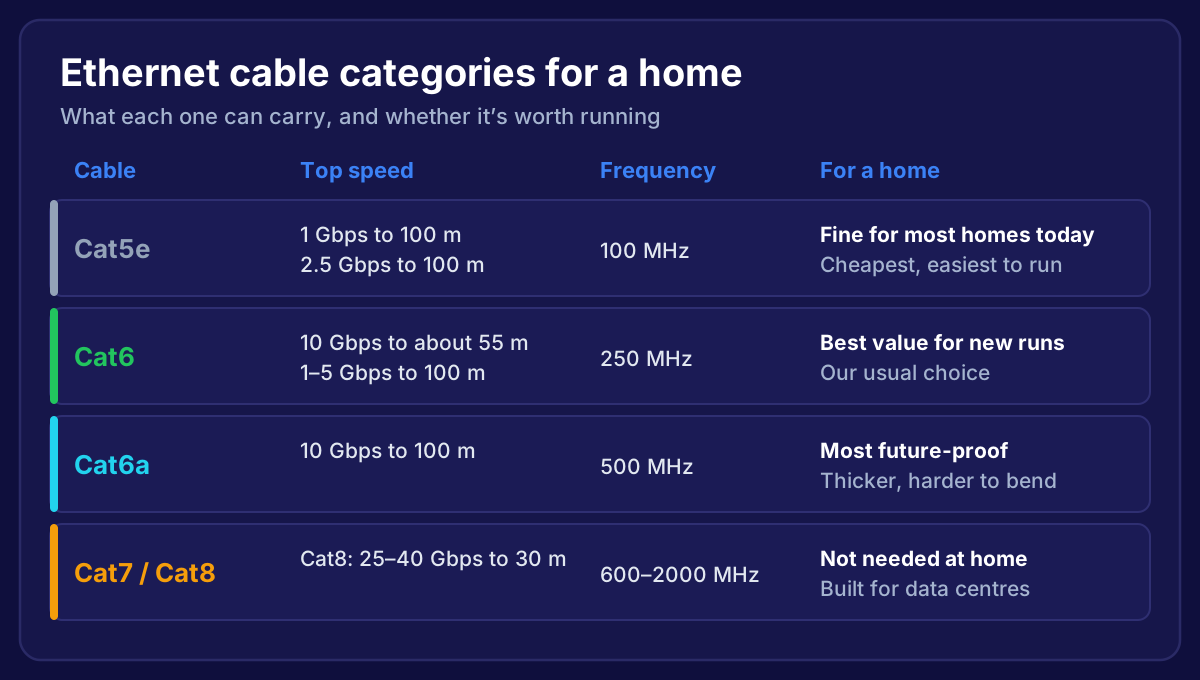
- Use modules that match your cable: Cat6 cable needs Cat6 modules
- Test every socket before you screw the faceplate on
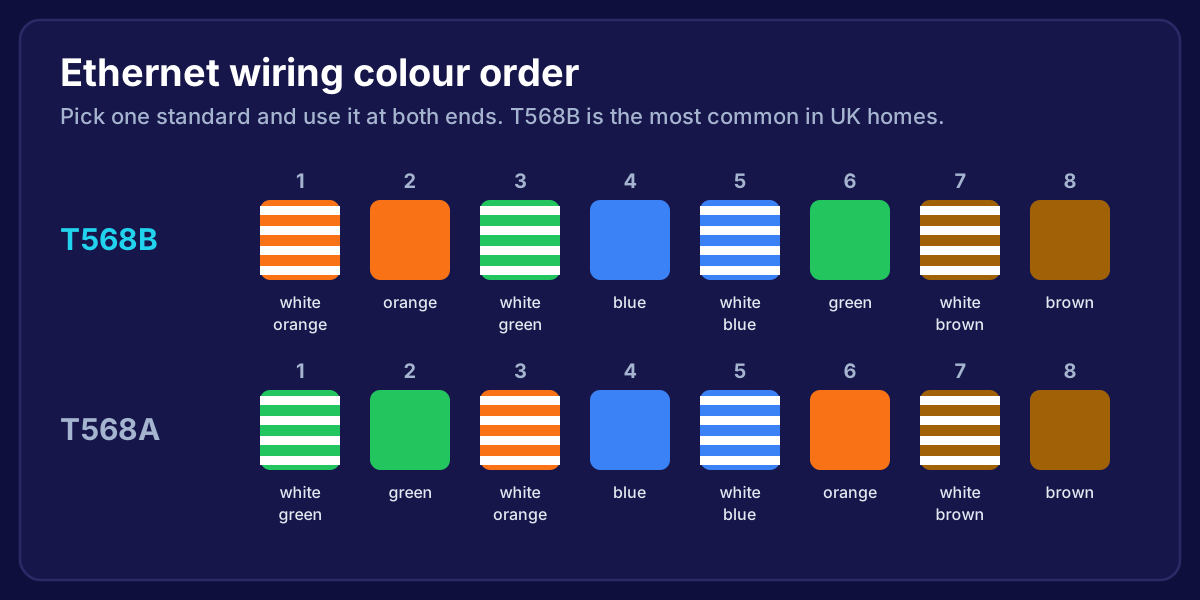 Ethernet wiring colour order for T568B and T568A, pins 1 to 8
T568A or T568B?
There are two standard colour orders for wiring the eight wires. They perform exactly the same. The only rule is to use the same one at both ends of a cable.
- T568B is the most common in UK homes and on most patch leads
- T568A is used in some offices and installs
The two just swap the orange and green pairs. Most modules have both colour codes printed on them, marked A and B. Pick B and stick to it.
What You Need
- RJ45 modules (keystone or Euro-style) rated for your cable, so Cat6 modules for Cat6 cable
- A single or dual faceplate and a back box (flush in the wall, or a surface box)
- A punch-down tool (Krone/LSA type for most UK modules). Some modules are tool-less instead
- A cable stripper or a sharp blade used carefully
- Side cutters and a cable tester
Step 1: Leave Some Slack and Strip the Jacket
Leave about 20 to 30 cm of spare cable in the back box, so the socket can be re-terminated later.
Strip about 3 to 5 cm of the outer jacket. Score it lightly and bend it so it snaps, rather than cutting deep. Nicking the copper underneath is the most common mistake, and it causes faults that come and go.
If your Cat6 has a plastic spine (the cross-shaped divider), cut it off flush with the jacket.
Step 2: Keep the Pairs Twisted
The twists in each pair are what stop the pairs interfering with each other. Untwist each pair only as far as you need to lay the wires into their slots, and keep the untwisted part under about 13 mm.
Don't straighten all eight wires and comb them out like you would for a plug. On a socket, each pair goes to its own place.
Step 3: Lay the Wires Into the Slots
Follow the B colour code printed on the module:
| Pin | T568B colour |
|---|---|
| 1 | White-orange |
| 2 | Orange |
| 3 | White-green |
| 4 | Blue |
| 5 | White-blue |
| 6 | Green |
| 7 | White-brown |
| 8 | Brown |
The pin order on the module isn't always left to right. Go by the colours printed next to each slot, not by counting.
Push the jacket right up to the module so there's as little bare cable as possible.
Step 4: Punch Down and Trim
Place the punch-down tool over each wire, with the cutting side facing outwards, and press firmly until it clicks. The tool pushes the wire into the blades and trims the end in one go.
Check each wire is fully seated and sits level with the others. A wire sitting slightly high is the classic cause of a socket that connects at 100 Mbps instead of 1 Gbps.
Fit the dust cap if your module has one, which holds the wires in place.
Step 5: Do the Other End the Same Way
At the central point, the same cable either goes into another wall socket or a patch panel. Use the same T568B order. Label both ends with the same number or room name.
Step 6: Test It
Plug a tester into both ends (or into the socket and the matching patch panel port). A basic tester lights up 1 to 8 in order. If two numbers are swapped or one doesn't light, re-punch that end.
Then plug in a laptop and check it links at 1 Gbps (or 2.5 Gbps on a faster port). If it only shows 100 Mbps, one of the brown or blue pairs is usually the problem.

Common Faults We Fix
- Wires nicked while stripping the jacket
- Too much untwisting, leaving long straight wires in the box
- Mixing A and B at opposite ends
- Cat5e modules on Cat6 cable, which don't grip the thicker wires properly
- Cable crushed when the faceplate is screwed back into a shallow box
For the full job from planning to testing, see how to install ethernet cable in your house.
Frequently Asked Questions
Does it matter if I use T568A or T568B?
No, as long as both ends match. Use T568B to match most patch leads and existing UK installs.
Can I put a plug on solid-core cable instead of a socket?
You can with plugs made for solid core, but they're less reliable and the solid copper can crack when the plug is moved. A wall socket and patch lead is the proper way.
Why does my socket only connect at 100 Mbps?
100 Mbps only uses four of the eight wires. If it won't go faster, one of the other pairs isn't connected properly, usually a wire not punched down fully.
Can I put ethernet and power in the same back box?
Only if the box has a separate, divided compartment designed for it. Otherwise keep data and mains in separate boxes.
Want every socket wired, tested and working first time?
We fit and test every cable, then set up your WiFi access points so every room gets a strong signal. One fixed price, and if it isn't fixed, you don't pay. We cover homes across Bristol, Bath and the South West.
→ Book Your Free Home Network Survey
Or talk to a local installer about your home.